Import or Generate Wallets
To generate a new wallet or to import an existing wallet, select Wallets from the/start menu. The next screen will display the list of chains that you have enabled through the /chains settings as discussed in Section 1. The same steps apply to all chains for the most part.
- After selecting the chain, the next screen will allow you to import your existing wallet or to generate a new wallet through the bot. This is the same screen that you would reach if you click on the setup “⚙️” button in the
/chainssettings for any chain. It is recommended to generate a new wallet instead of importing your existing main wallet. - Whether you choose to import or generate a wallet, the bot will first prompt you to provide a name for the wallet. If you generate a wallet through the bot, it is recommended to import the provided private key to TW, Metamask, or your preferred wallet so you can access your funds outside the bot. However, this step is not necessary since the bot allows you to send SOL/BNB/ETH/S/AVAX/TON and tokens out of your wallet. If you do intend to import your wallet somewhere else, do NOT copy-paste the private key or seed phrase. Always use pen and paper if you want to save these credentials, and never place them into your device’s clipboard.
- Make sure to send funds (SOL, BNB, ETH, S, AVAX, TRX or TON only) to the wallet so you can start using the bot.
- By repeating the same steps above, you can proceed to set up multiple wallets for every chain. For Base users, you can connect up to 3 wallets. For ⭐️ Premium users, the limit is 10 wallets.
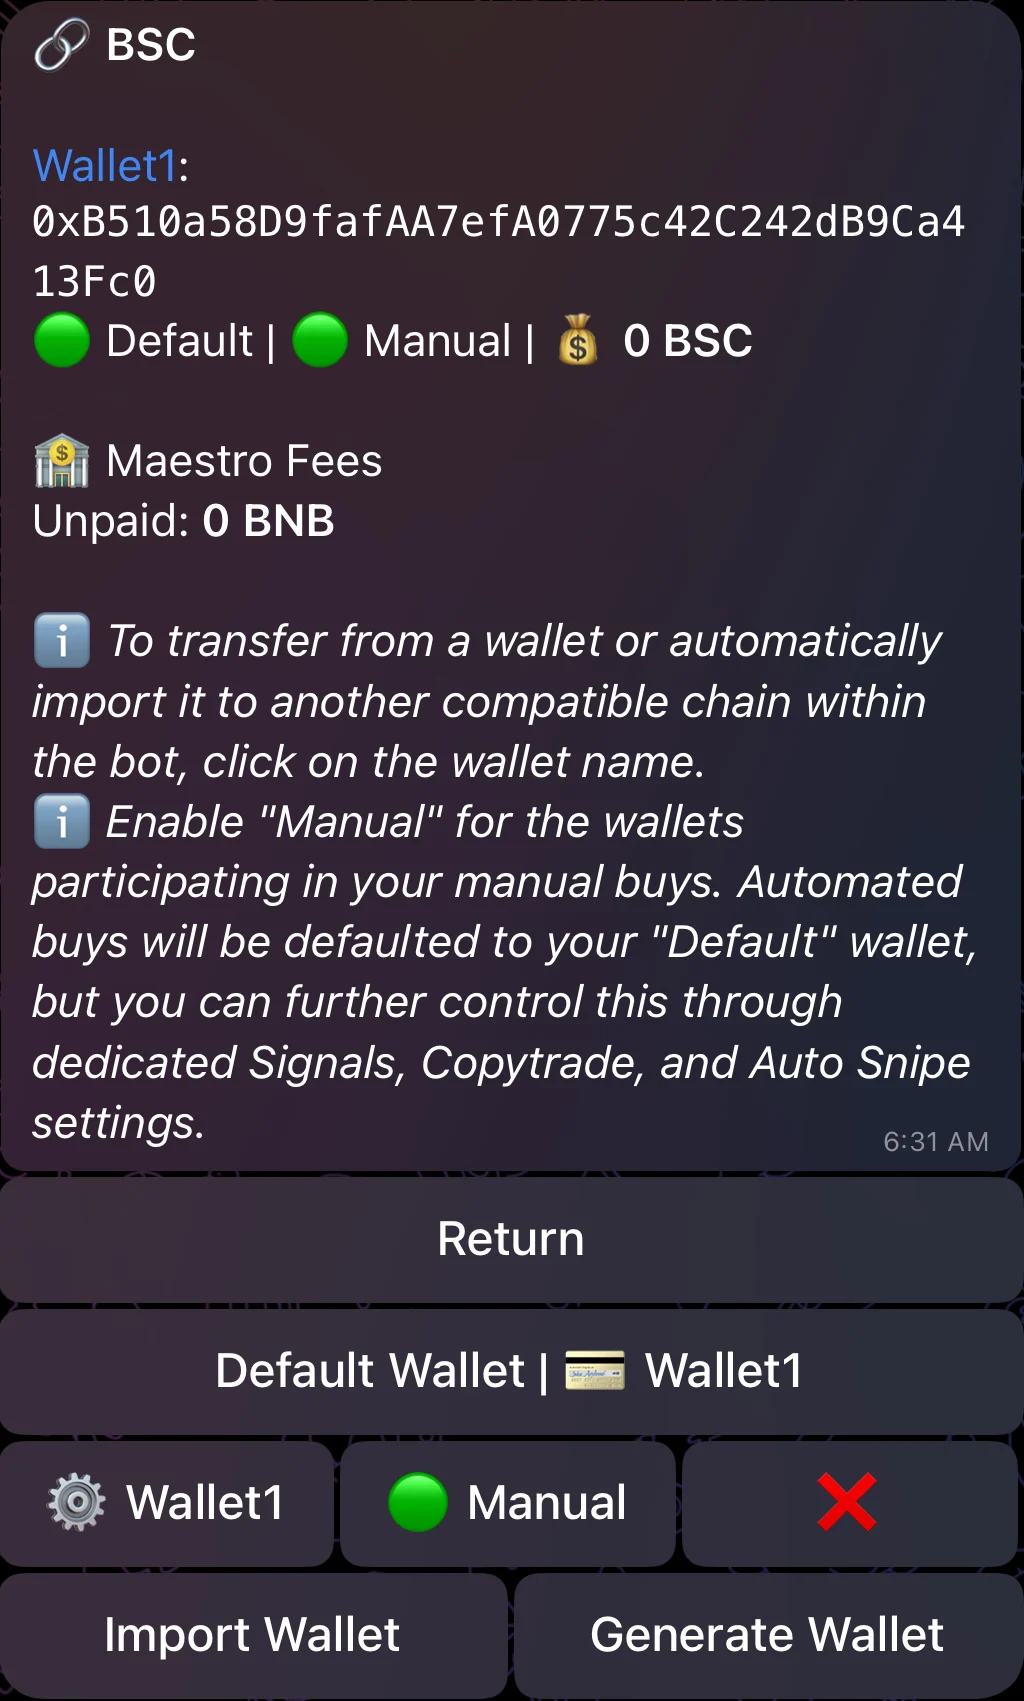
🟢 Manual and 💳 Default Wallet
As soon as you set up your first wallet, you will notice two options: “Manual” and “Default Wallet”.- “Manual” is a wallet-specific setting which you can 🟢 enable or 🔴 disable for each added wallet. When you enable “Manual” for a wallet, you are specifying that this wallet should participate in your manual buys. In other terms, “Manual” will allow you to select the wallets that will participate in all your manual multi-buys. The first wallet you set up is automatically enabled for “Manual” since there always needs to be at least one “Manual” wallet.
- “Default Wallet” is a chain-specific setting. Only one wallet can be set as “Default Wallet” and this is required at all times. To change the default wallet, simply click on the “Default Wallet” button and you will be provided with the list of your connected wallets so you can select the wallet of preference. The wallet selected in “Default Wallet” will serve as the default wallet for all your automated buys generated through Signals, Copytrade and Auto Snipe. However, you will be able to further control which wallets will participate in every automated buy through dedicated settings.
⚙️ Wallet Config
If you click on the “⚙️ Wallet Name” button, you will be redirected to the following menu: